Candles, those small oases of light that add warmth and character to our homes, can become even more special when we decide not only to make them ourselves but also to create our own, unique forms. This way, each candle will be not only a source of light but also a small work of art that will perfectly complement the atmosphere of our home.
The process of creating candle molds can be just as satisfying as making them yourself. It's an opportunity to unleash your creativity, experiment with different materials and shapes, and learn new techniques. Whether you dream of candles in classic, simple shapes or something more extravagant and unusual, handmade molds open the door to endless possibilities.
In this article, we'll guide you through the basics of candle mold making, from selecting the right materials, through mold design, to final execution. We'll show you how to use simple tools and materials you often have at home or can easily obtain to create molds that will allow you to realize your wildest ideas.
Materials for making candle molds at home
Let's start with the basics – choosing the right materials is crucial to making your homemade candle projects a success.
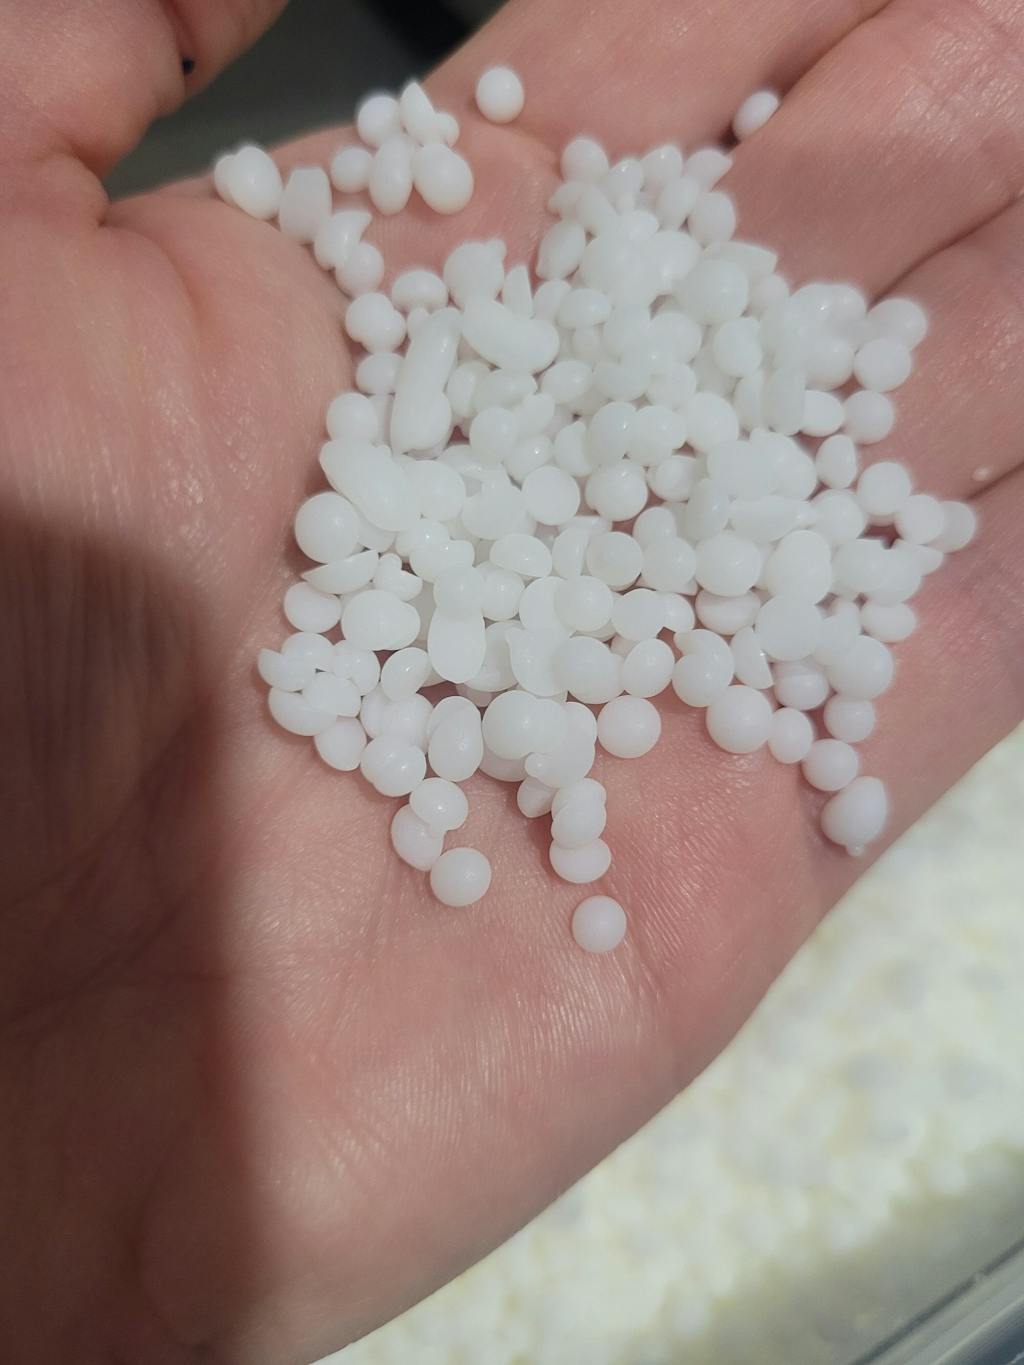
Silicone: This is one of the most popular materials for creating molds. Silicone is flexible, making it easy to remove the finished candle, and it's also resistant to high temperatures. You can buy ready-made silicone mats or liquid silicone, which can be molded to your own design.
Model or Original: This is the object whose shape you want to recreate. This can be anything from a pre-made candle you like, to a unique shape found in nature, or a handmade clay model.
Tin or Container: This is used to hold the silicone around the model while it sets. The size and shape of the container should match the size of the mold you're creating, with a small margin on each side.
Mold Silicone: Choose a mold-safe silicone that's resistant to high temperatures. Special mold-making kits are available that include everything you need.
Vegetable oil or mold spray: Used as a release agent to prevent silicone from sticking to the model. This will make it easier to remove the model from the cured silicone.
Mixers and mixing containers: These will be needed to prepare the silicone before pouring it into the mold. Make sure they are clean and dry.
Protective gloves: Silicone can be sticky and difficult to wash off, so it's important to protect your hands.
Mixing sticks and smoothing tools: Use these to thoroughly mix the silicone and remove air bubbles, as well as to smooth the surface of the mold before it sets.

How to make a silicone mold - step by step
Creating your own silicone candle molds is a fascinating process that opens the door to limitless creativity. Here's how you can create your own silicone mold:
Preparing the Model: Choose the model you want to recreate. This can be any object that will serve as the shape for your candle. Place the model on a flat, stable surface, such as a piece of board or tray.
Preparing the Container: Find a container that will accommodate your model and leave some space around it. You can use plastic containers, cardboard boxes, or even homemade cardboard structures. Make sure to coat the inside of the container with a release agent, such as vegetable oil or a special spray.
Mixing the Silicone: Prepare the silicone according to the package instructions. This usually requires thoroughly mixing two components: the base and the hardener. Use a mixing paddle and mixing container to thoroughly combine the ingredients.
Pouring the Silicone: Slowly pour the prepared silicone into the container, trying to cover the model evenly. To avoid air bubbles, you can pour out a little silicone, gently shake the container or use a stick to smooth it out, and then add the rest.
Waiting for it to set: Allow the mold to set for the time specified by the silicone manufacturer, usually 24 to 48 hours.
Removing the model: Once the silicone has completely set, gently remove the model from the mold. If you used a release agent, the model should separate easily.
Finished mold: Your silicone mold is now ready for use. You can begin pouring wax directly into the mold, creating unique candles.
Remember, if you don't feel confident making your own silicone mold, you can always use ready-made candle molds from our selection. Our wide selection of candle molds allows you to create many candle projects without having to create your own molds. Ready-made silicone candle molds are available in a variety of shapes and sizes, giving you the opportunity to experiment and enjoy candle making without the hassle.